M.A.V. Quick Start Guide
The Basics
Valid Build Indicators
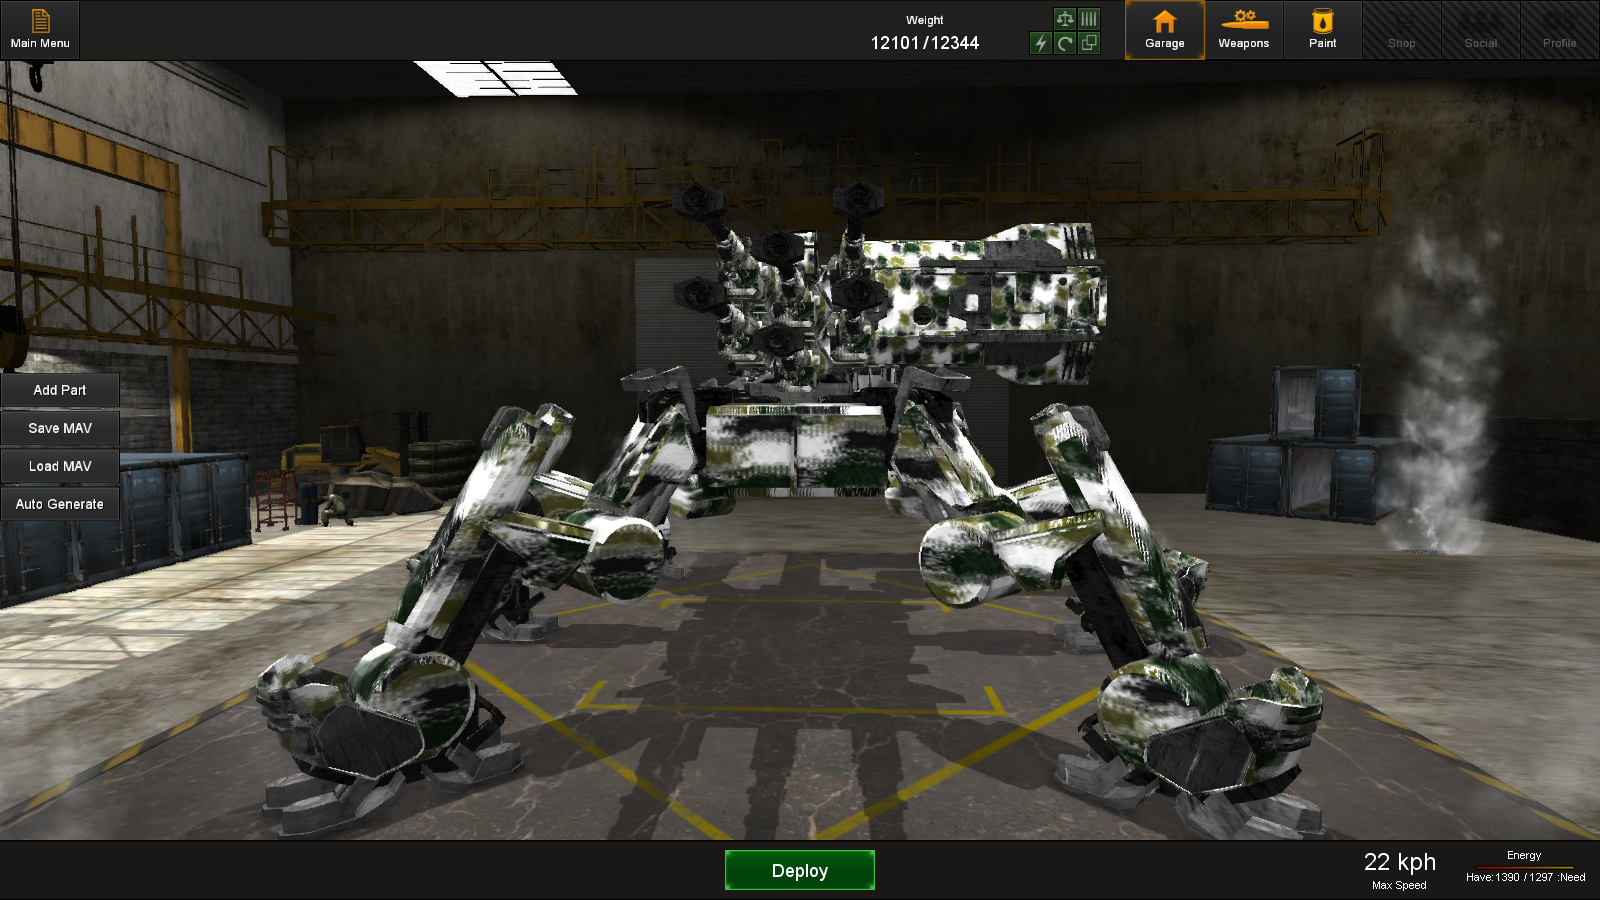
Scales – Your current weight must not exceed the maximum weight your chassis can hold, the weight indicator is located in the top middle of your screen.
Four Bullets – All equipped weapons must be assigned to a minimum of at least one weapon group, this is to protect you from jumping into battle without any weapons.
Lightning Bolt – In order to function your MAV must have enough energy to operate all of its systems, to do this just equip power generators. Your energy indicator is located in the bottom right of your screen.
Curved Arrow – This indicator is to show that your cockpit is facing forward and is right side up. Imagine trying to drive upsidedown or even backwards. Your cockpit will turn a transparent yellow to indicate that it is not positioned correctly.
Two Boxes – This indicated that two or more parts are colliding and they must be moved to correct the error. The parts in question become a transparent red to better indicate that they are in issue.
Please note that the order you assign weapons is important as the first weapon will be used as the gun camera for that group and on high caliber weapons changing the order can effect shot grouping. Finally if you have any extra weapon groups assign a previously made group in a different order so if you lose your gun camera is knocked out you could use the other group instead.
Garage Controls
To rotate your view by holding down the right mouse button and dragging.
To zoom in or out use the mouse scroll wheel.
To rotate a part before you connect it to your MAV simply press Q or E (last / next weapon group) while you are holding the part with the left mouse button.
To have even more control over the part you are holding with the left mouse button hold Shift and then press Q / W / E / A / S / D and it will rotate in one of the 6 directions by 90 degrees.


